TAIKOLLER Disassembly Guide
TAIKOLLER Disassembly Guide
Section titled “TAIKOLLER Disassembly Guide”-
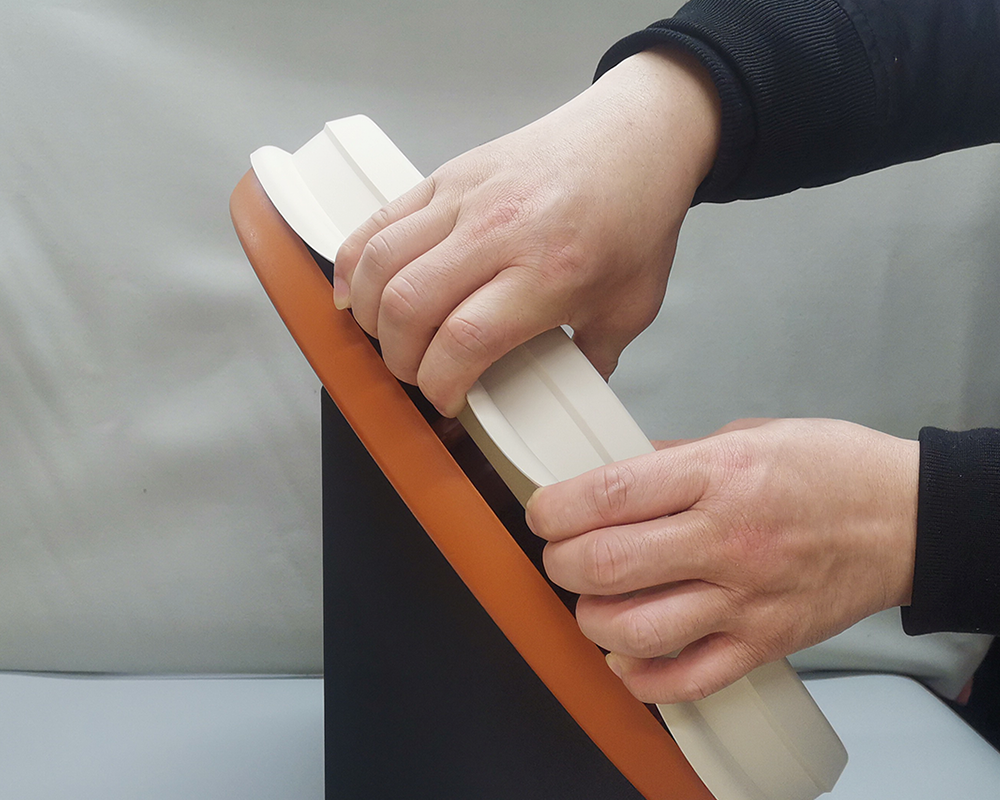
Remove the drumhead
Please follow the technique shown in the diagram, take the whole drumhead out of the buckle and then remove it as a whole.
-
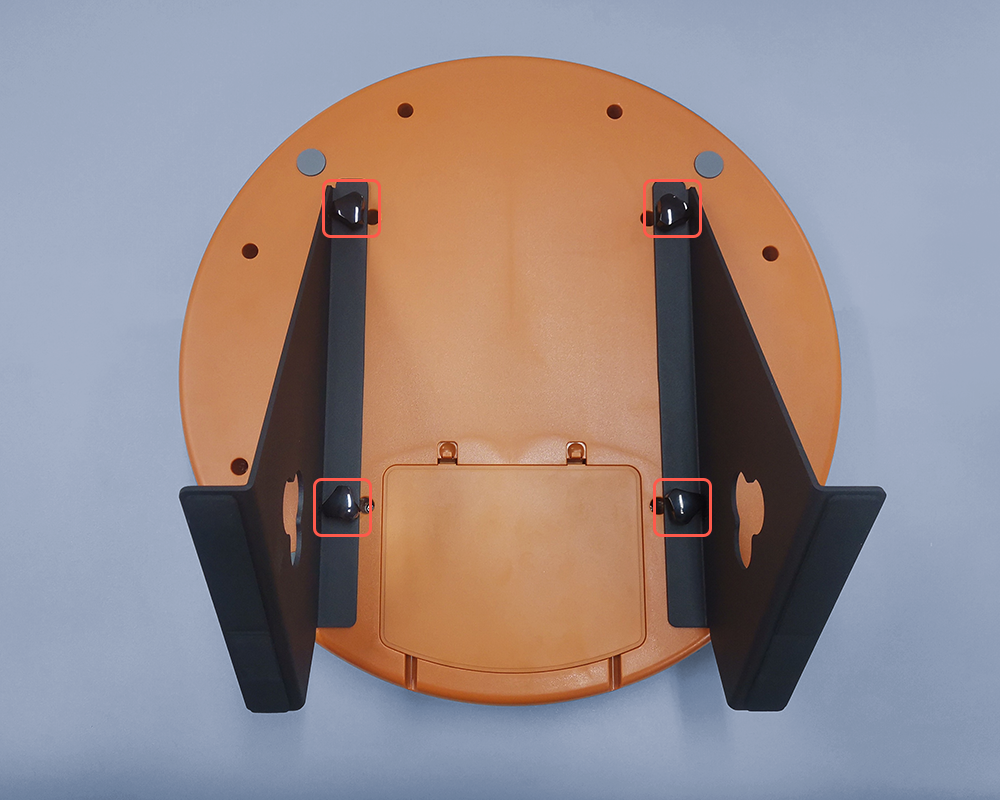
Remove the drum stand
Place the drum face down and remove the drum stand by rotating the hand screw counterclockwise.
-
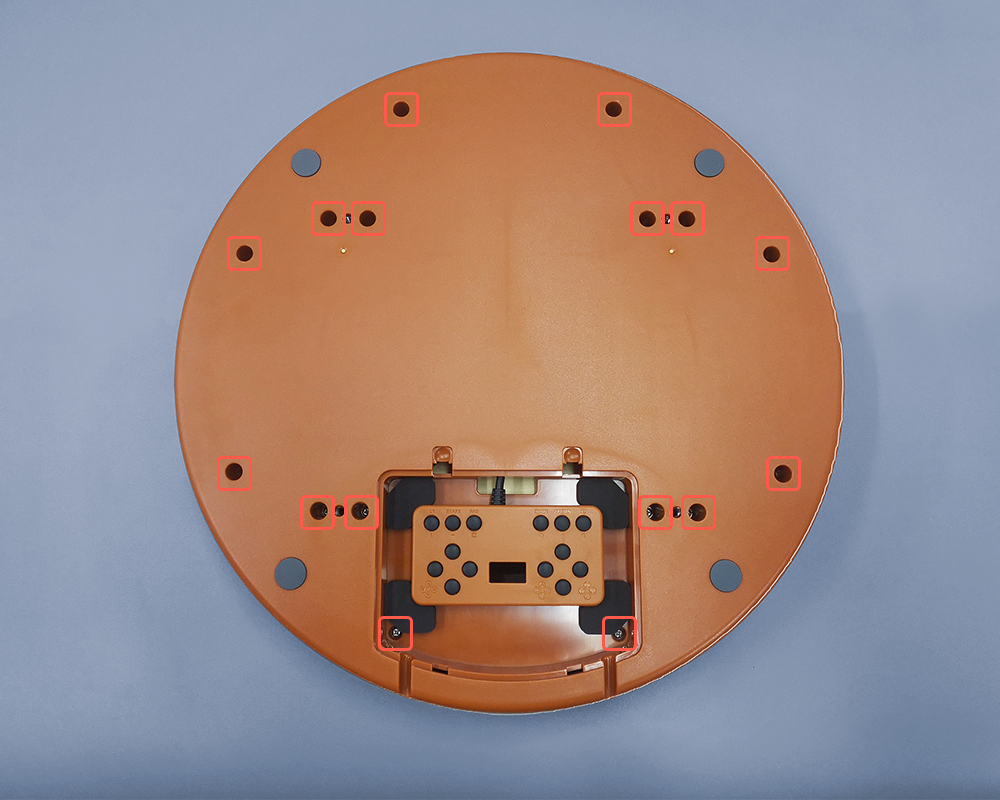
Remove the back screws
Open the control box door, use the supplied screwdriver to remove all the screws on the back.
-
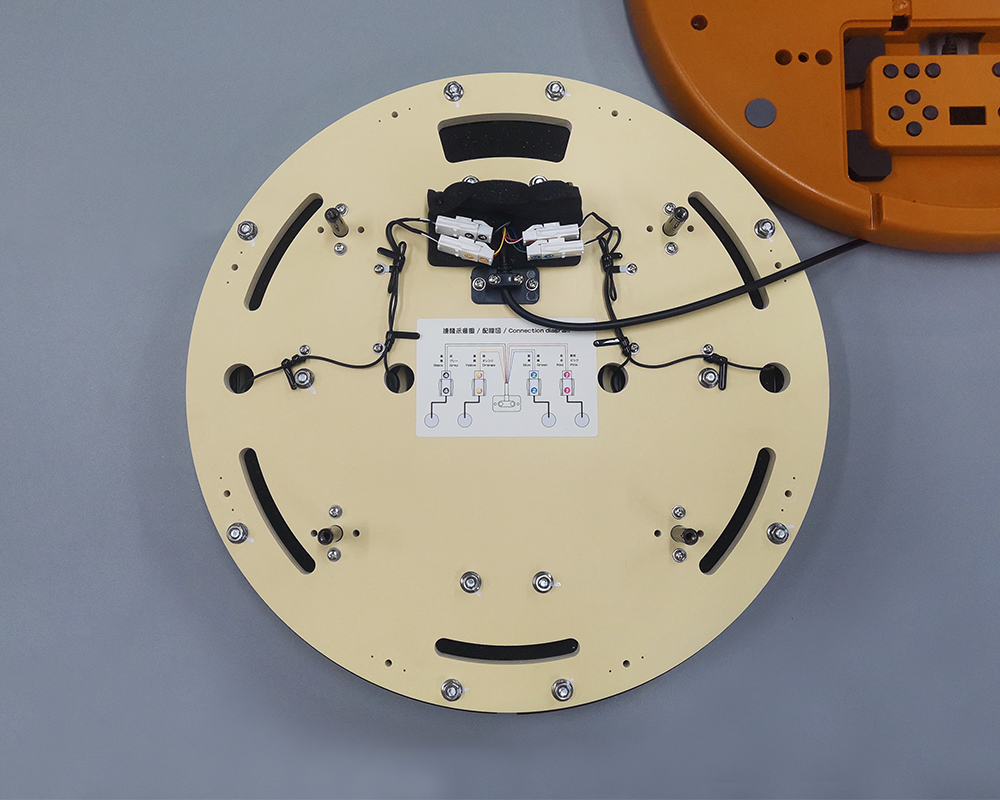
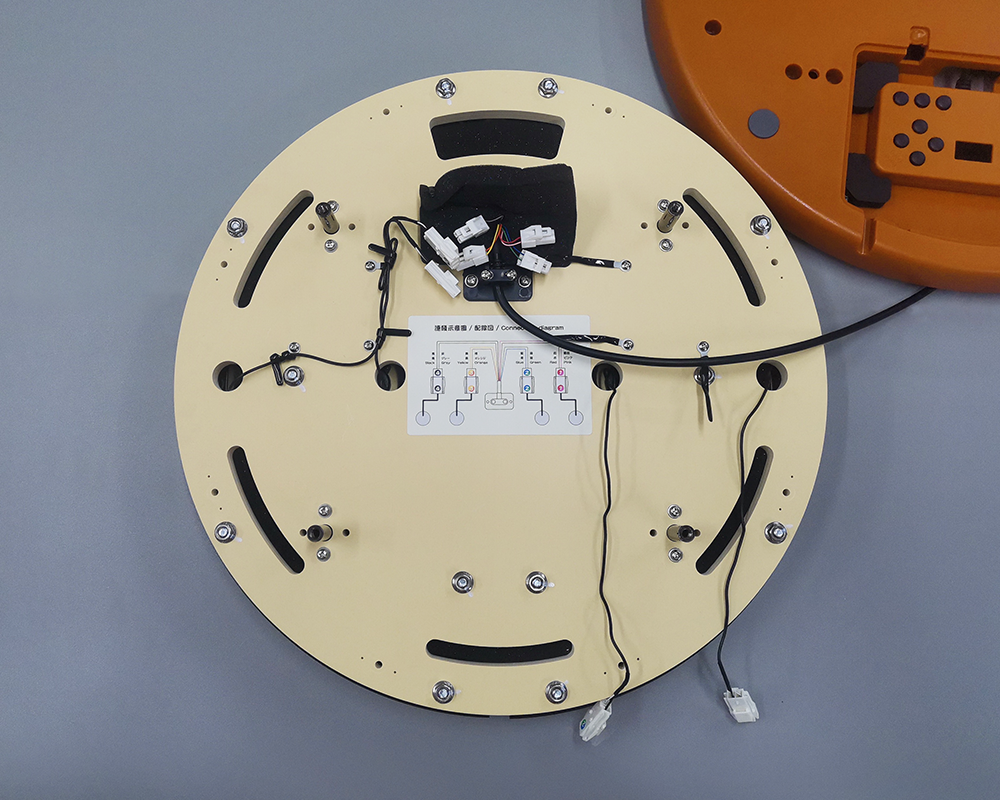
Open the housing
Take away the shell and place it on the side, then open the tie that holds the cushion foam of the connector.
-
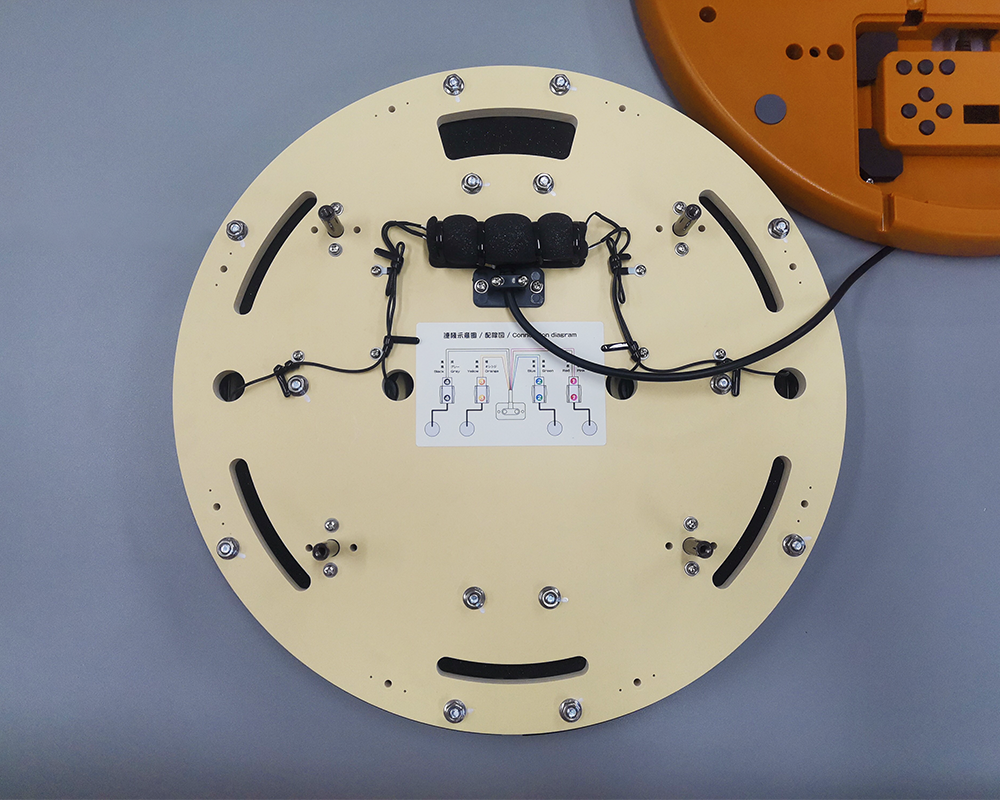
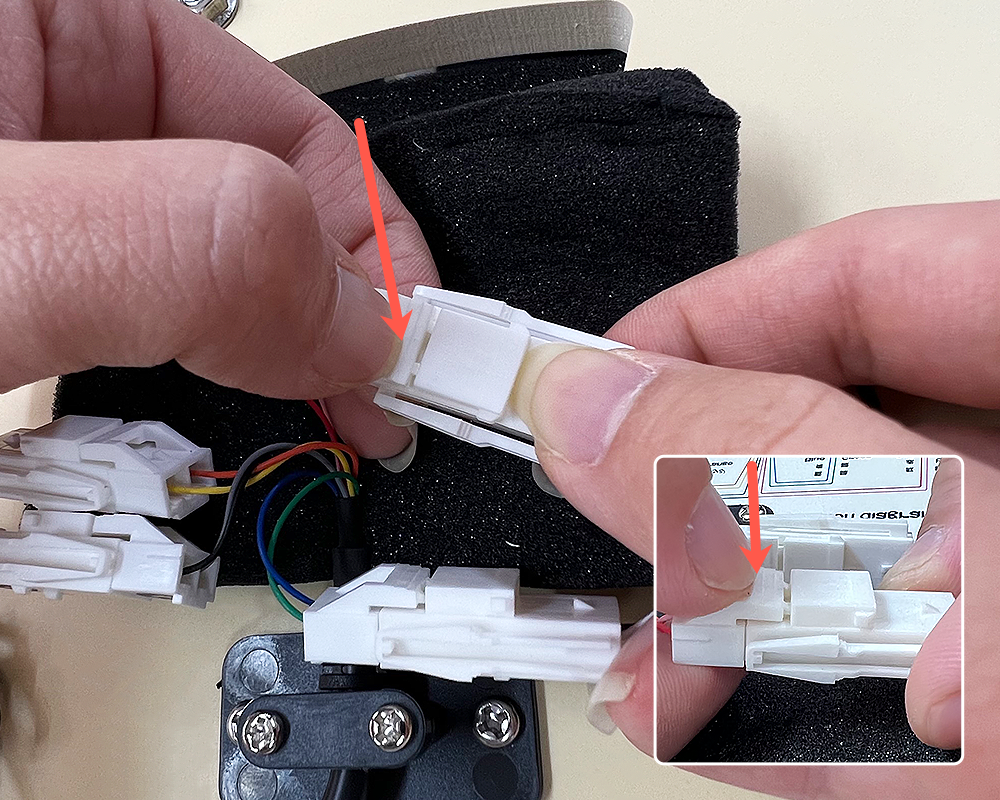
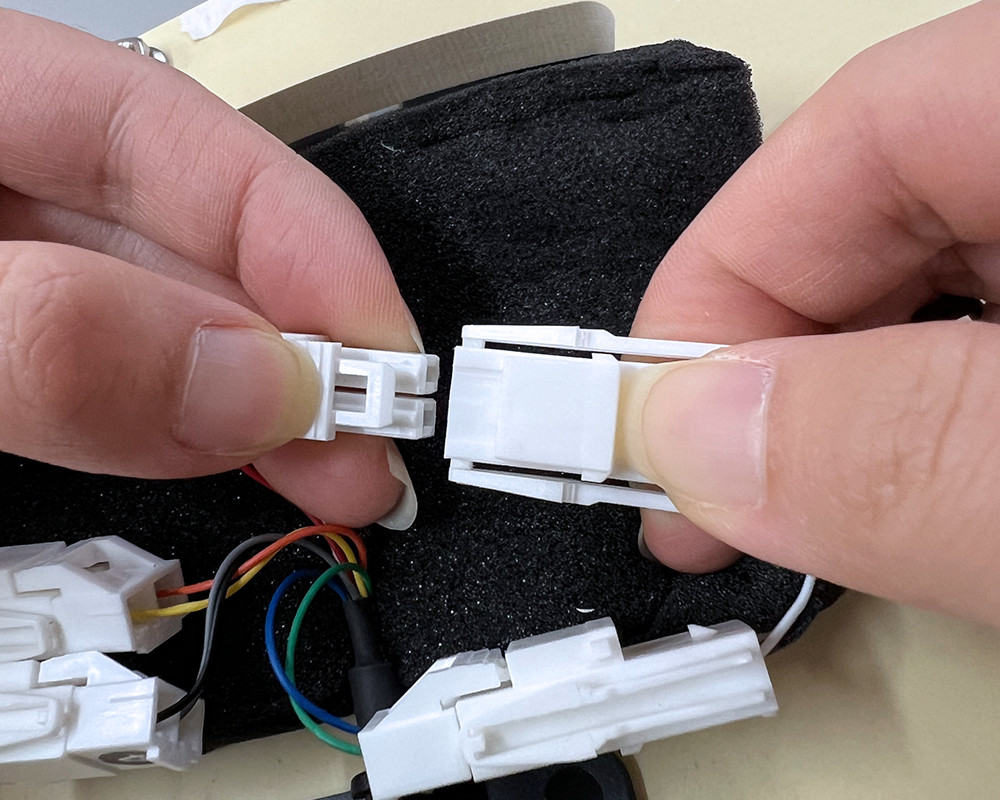
Unplug the sensor connectors
Unplug the connectors of the 4 sets of sensors.
-
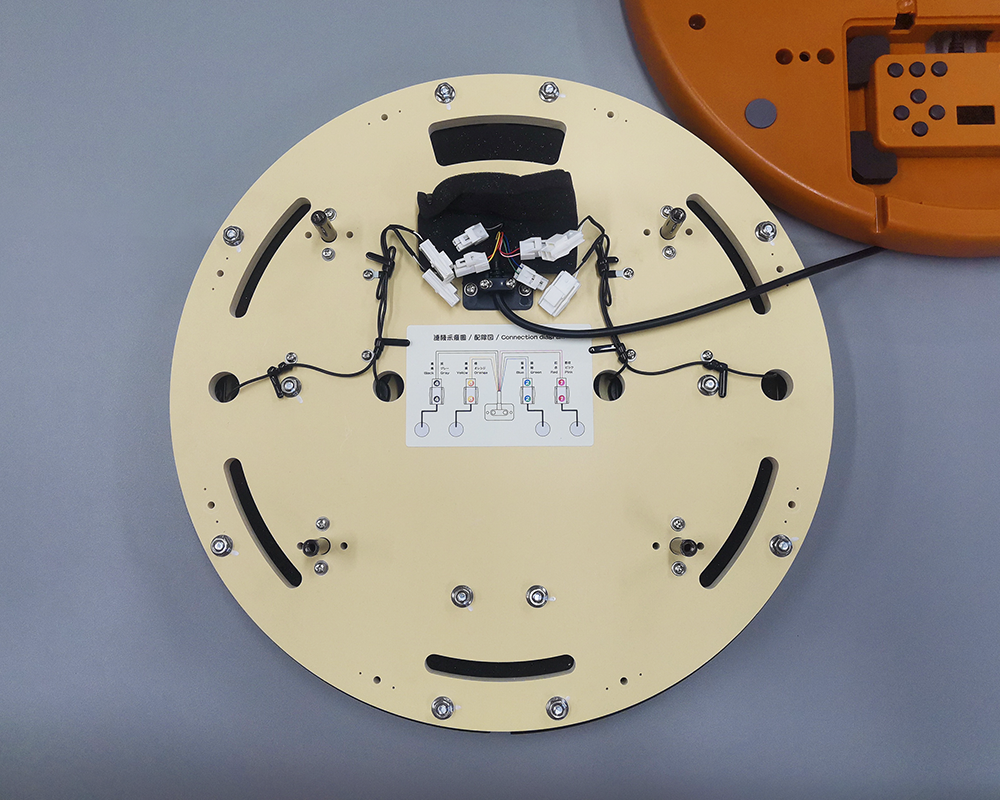
Remove the cable ties
Disassemble the 3 wire ties, remove the wires from the ties and place them neatly.
-
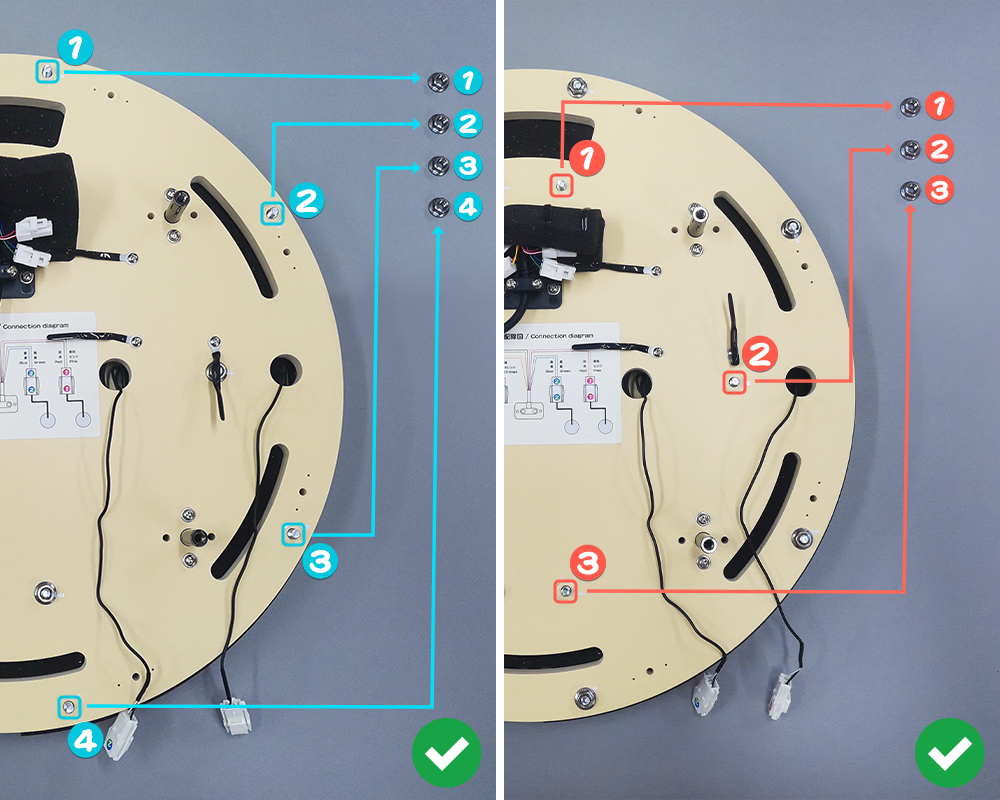
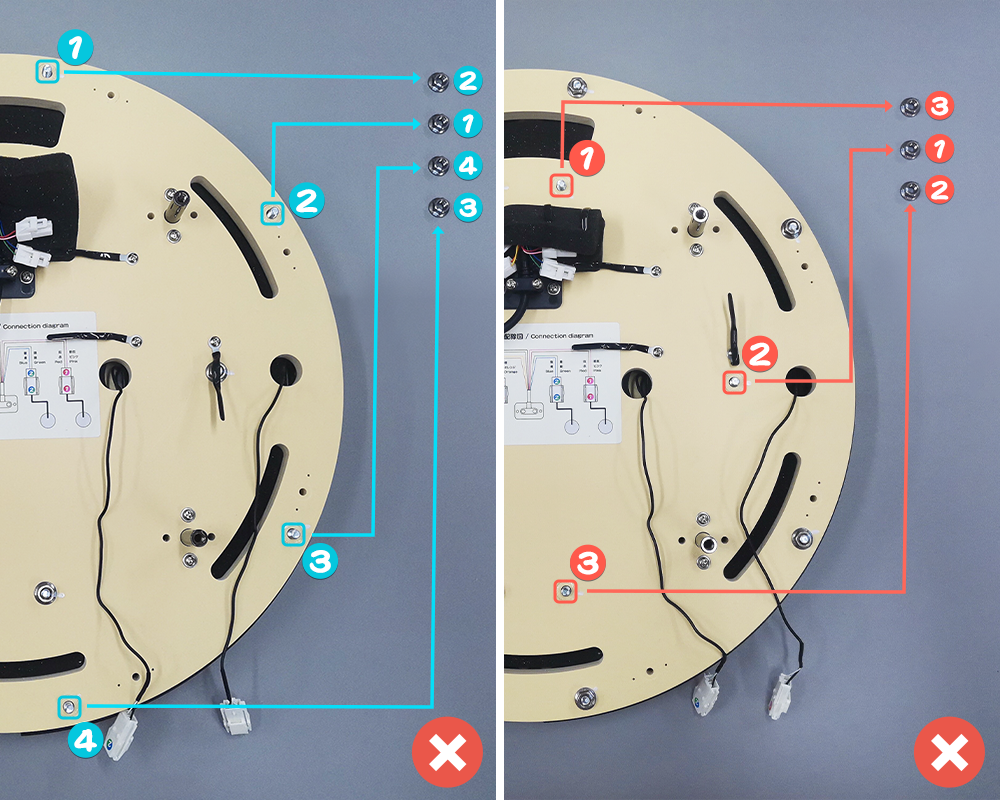
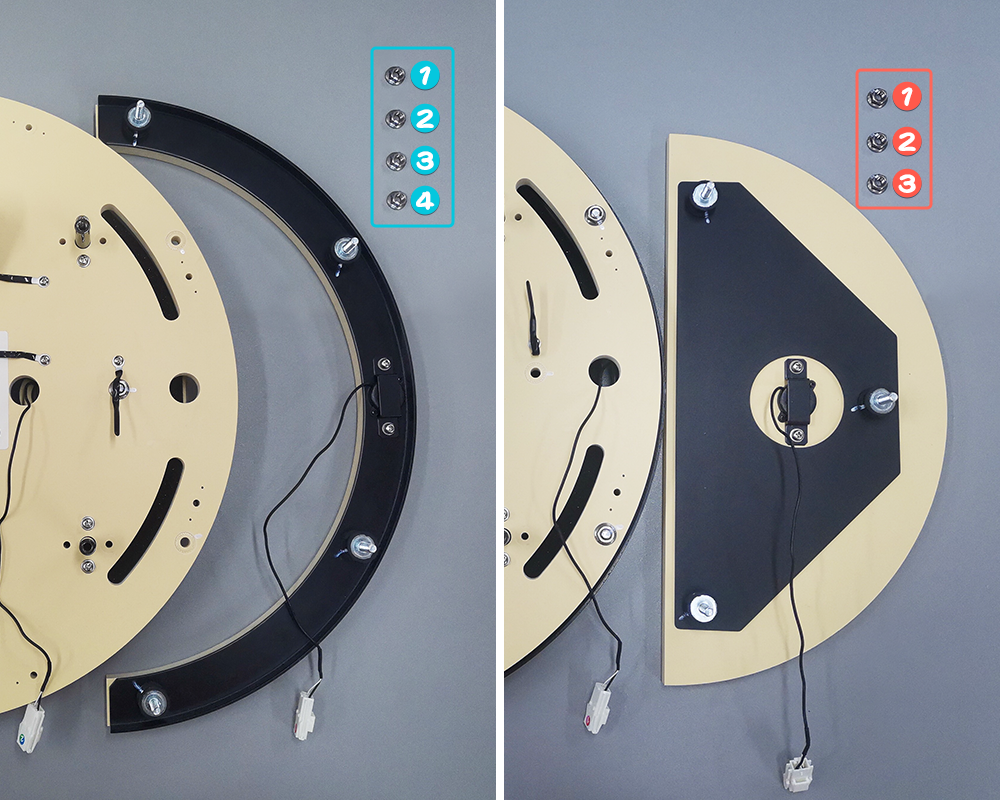
Remove the back nuts
Use an M6 (H10) wrench to remove the nuts on the back.
-
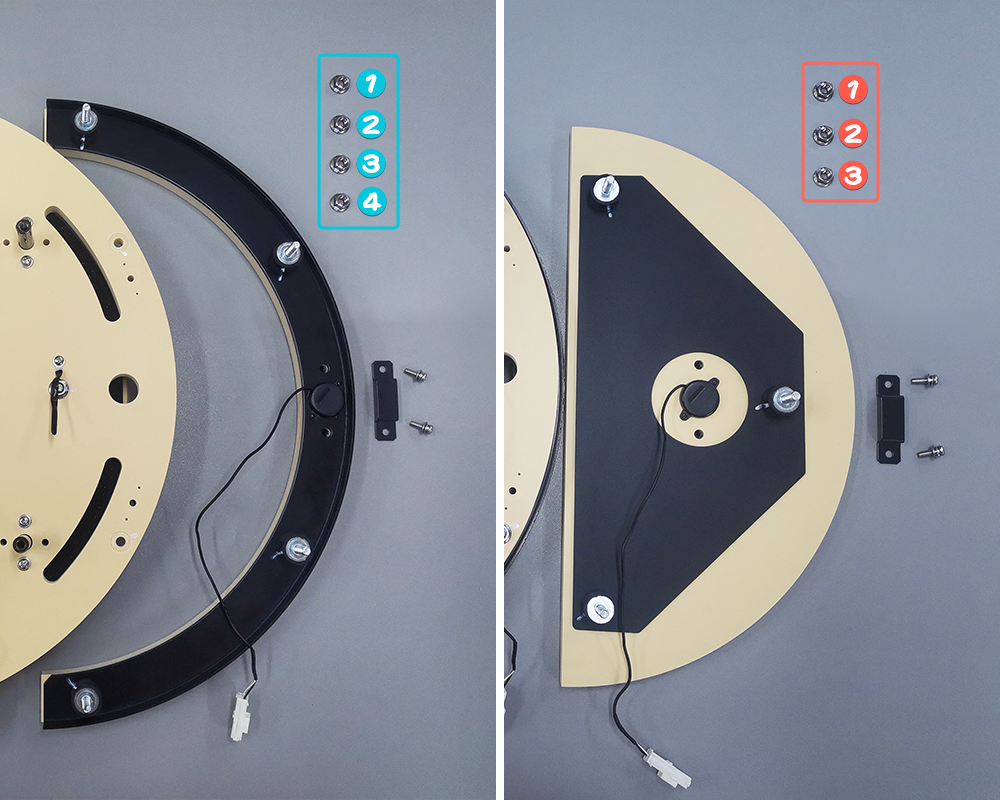
Remove the panels
Insert the connector of the panel into the corresponding hole, then take out the corresponding panel. Be careful not to forcefully pull the sensor wire.
-
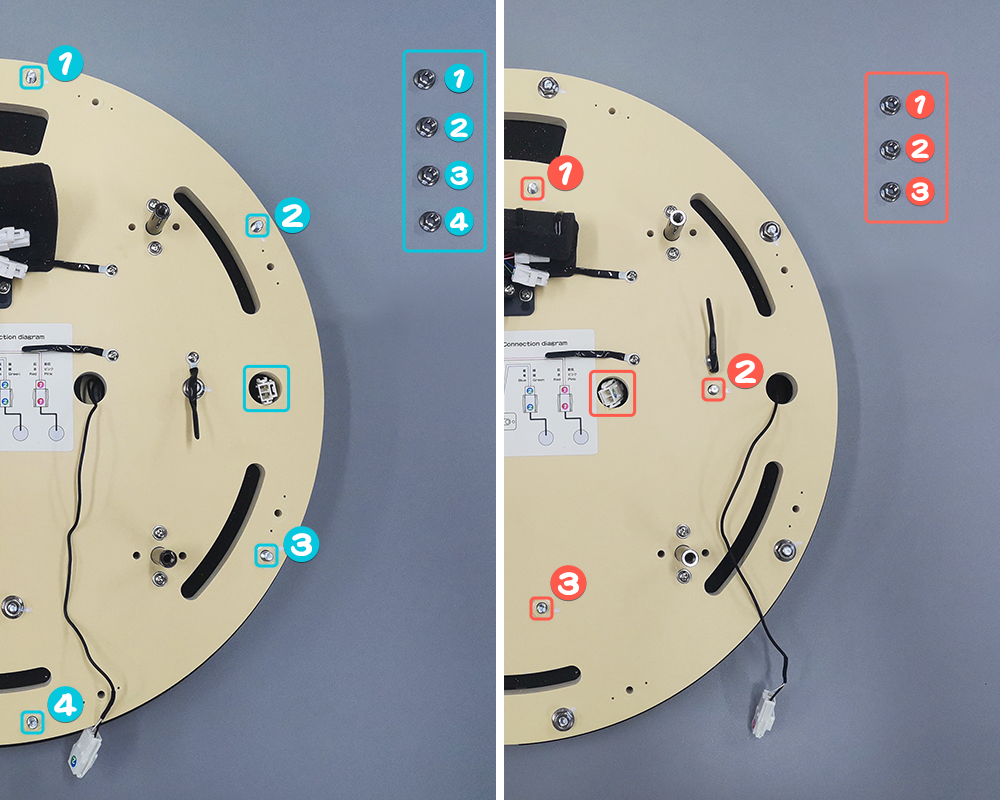
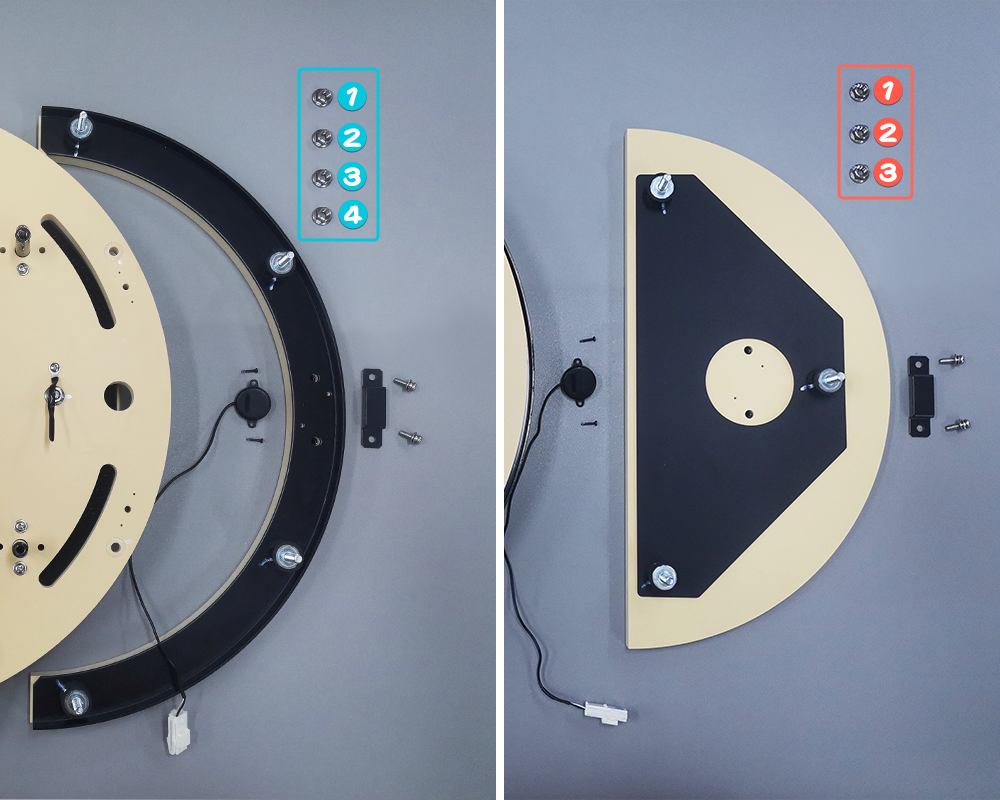
Remove the sensors
Use a screwdriver to unscrew the corresponding screws and remove the parts holding the sensor in place, then remove the sensor positioning screws.
-
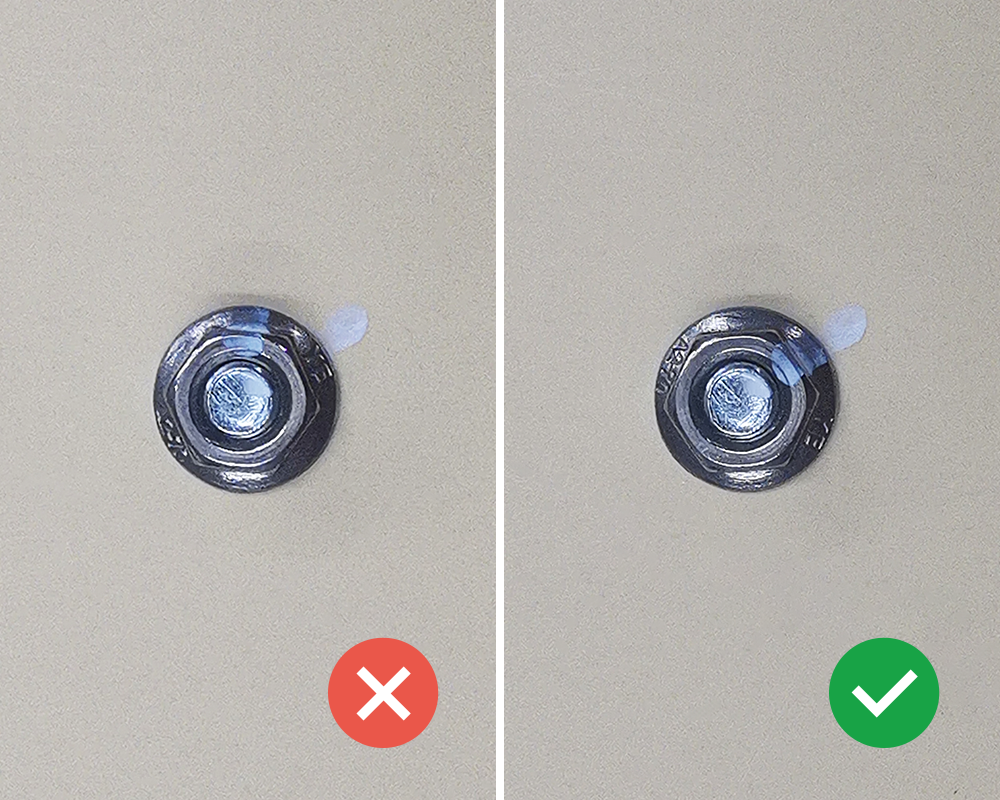
Install the nuts
Take care to tighten the nuts in place when installing them.
-
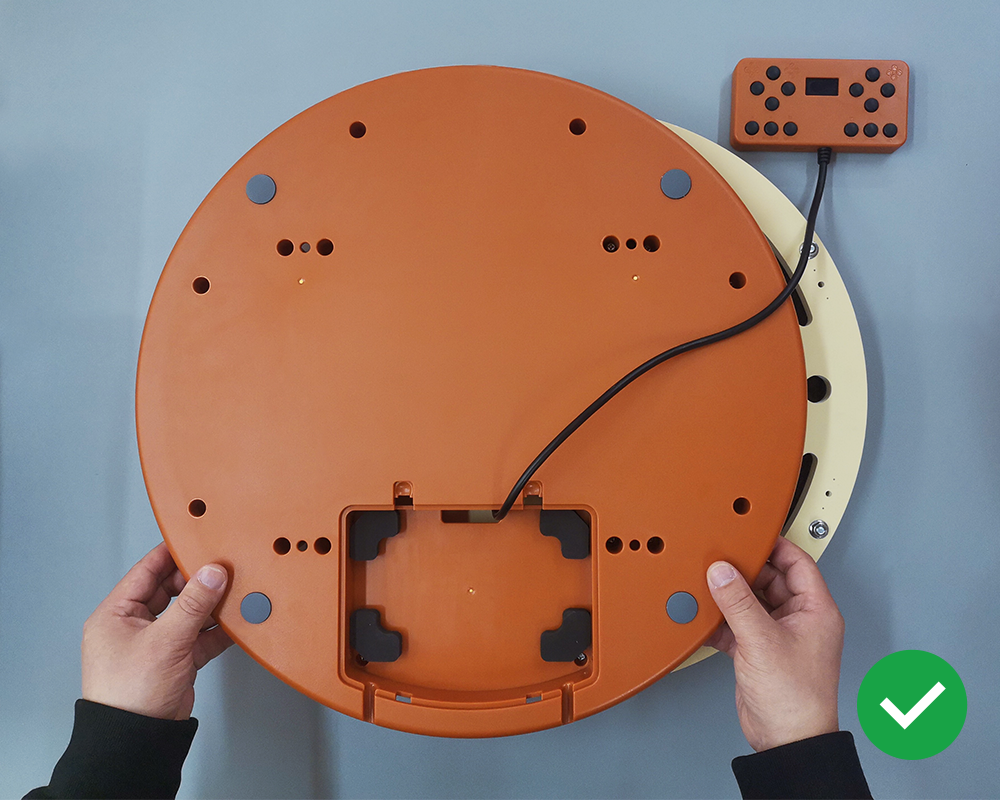
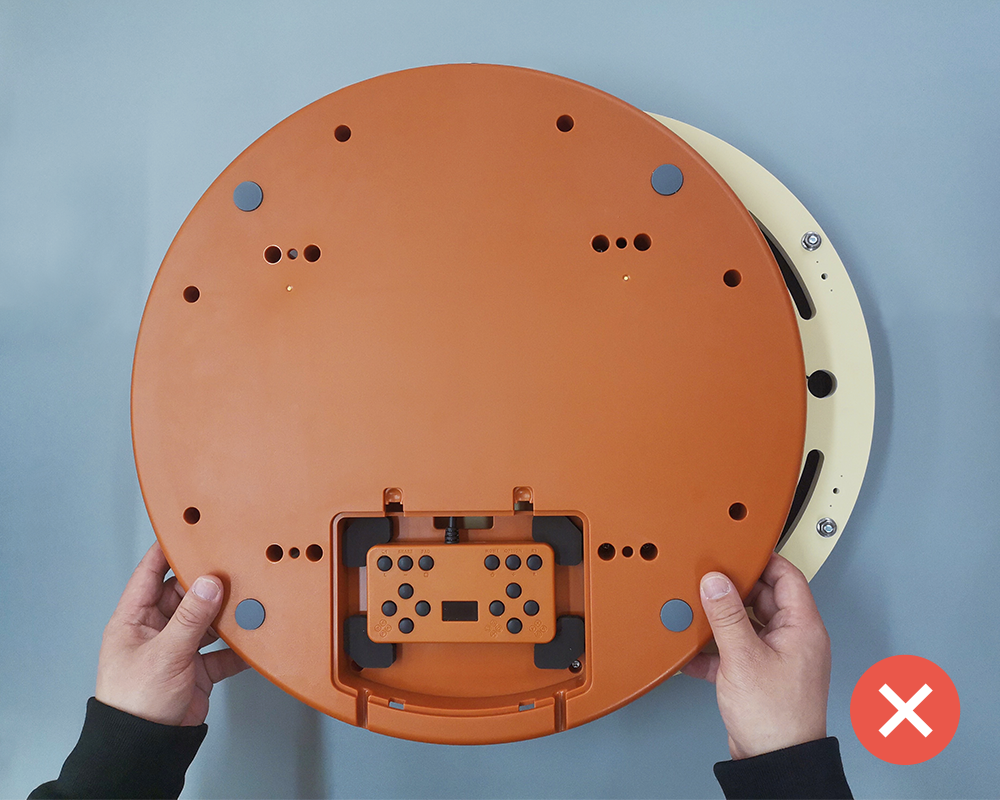
Install the housing
When installing the housing, pull out the control box wire first to avoid the wire being stuck inside the housing.
© 2026 GAMO2 Docs